Let your original character step off the page
5 minute read
Sample design
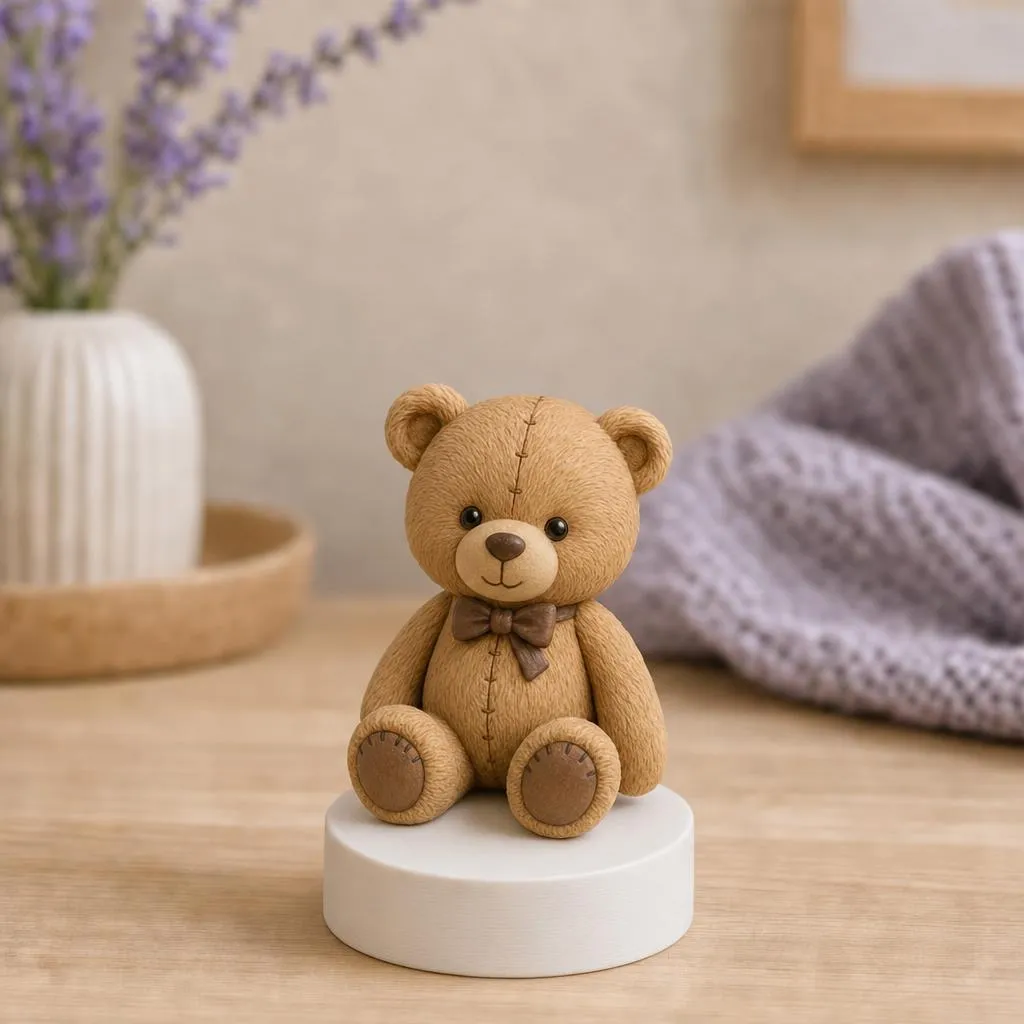
Perhaps you have an original drawing, a recurring comic character or a mascot you would like to see on your shelf. A simple colour image can be the starting point. The aim is a stylised decorative piece inspired by your picture, with the familiar character carried into a physical form. Begin by showing what makes the design yours. That might be an unusual hairstyle, a large scarf, a distinctive pair of ears or two carefully chosen colours. Those features give the design discussion a useful focus before you start thinking about smaller details.
A clear drawing is a useful beginning
Choose an image with a silhouette that stands out from the background. In a crowded scene, it may be unclear which objects belong to the character. For a drawing on paper, take a photograph in even light, facing it directly and avoiding shadows or reflections. For digital artwork, the original image is usually more useful than a small screenshot. The lighting and sharpness advice in our photo guide also applies when photographing a drawing.
You do not need to arrive with a complete sketchbook or a fully developed set of views. One drawing can be a starting point, provided we discuss the missing sides. If you have a side or back view, include it and explain whether it belongs to the same version. When several pictures show different outfits or hairstyles, identify the main reference. This helps avoid accidentally combining details from different stages of your character’s design into a single figurine.
Explain what needs to stay recognisable
Instead of asking only for an exact match, write a short list of priorities. For example, the round ears and yellow scarf might be essential, while the tiny coat buttons could be simplified. Perhaps the tilted head and differently coloured shoes matter most. Three clear sentences can be more useful than a long account of the character’s fictional world.
Explain any features that depend on drawing conventions. A black patch could represent a shadow, a painted marking or an actual recess. A shape extending sideways could be hair or a separate accessory. Something that seems obvious on the page can have several possible physical interpretations. The unseen back of the character needs a decision too.
Give the pose a stable physical form
A floating star, a very thin tail or an oversized accessory held far from the body may need adjusting. An element might be brought closer, made fuller or connected to the optional base. We discuss those changes as part of the design. Consider whether the original gesture or the characteristic silhouette matters more if both cannot be preserved in exactly the same way.
This service creates decorative figurines from images. It does not promise precision design or a component that fits another object exactly. If your idea needs to occupy a precisely measured space or connect to something else, raise that separately through “Special request”. The main design process focuses on appearance, recognisable character and a form that works as a decorative object. Our character figurine page explains that starting point and helps you decide whether it suits your idea.
Choose colours and a place to display it
You can choose a ready-in-colour figurine or a white version to paint yourself, with an optional painting kit. If your character has important colours, provide a clear reference and check the main areas in the concept preview. Colours can differ between a screen and a finished object, so a tiny shade difference should not carry the whole design. With a white version, you can explore your own palette using the painting guide and the instructions supplied with your actual paints.
Suggested heights are 10, 15 and 20 cm, plus a slider for freely choosing a height up to 25 cm. A small mug or an upright book can help you imagine the scale, but measure the real display space too. Wide ears and accessories may need extra room at the sides. Larger pieces require a separate “Special request”. The selected details affect the price, and your quote confirms the final amount before you commit to the next agreed stage.
From concept to separate model approval
After selecting your concept and entering your order details, review the total and pay. The separate, rotatable 3D model follows payment, with up to three change requests. Production uses the accepted version. If you do not respond within five days of the first model notification, the first version is automatically accepted; we send a reminder beforehand.
Quick questions
Can I start with one drawing? Yes; we will discuss the missing views and details.
Will every tiny feature remain? Some elements may need simplifying for a stable piece.
Is the painting kit required? No. The white version is available without it.
When you are ready to share the idea, start your character design. Bring the main image and a few words about the details that matter most.